This being my first post and all, there are couple C. albicans guidelines I'd like to run through. If you're a seasoned veteran, this will all be old hat.
- no grains - wheat, rice, barley, oats, etc... millet, amaranth, and quinoa are okay
- no fruits
- no starchy vegetables - potatoes, beets, parsnips, etc
- no sugar of any kind
- no yeast
- no mold
- no hydrogenated oils
- no mushrooms
- no alcohol
- no stimulants - coffee, black/green tea, mate, etc.
- no prepared/packaged foods
- ALL FOODS MUST BE ORGANIC
Enough with the formalities. Let's discuss food.
At the beginning of this righteous venture I didn't really have a "plan," just some flavor combinations in mind. So, here's what I was workin' with.
Here we have some extra virgin olive oil, sunflower oil, millet, homemade vegetable broth, macadamia nuts that have been soaking for a couple hours (in order to get rid of mold spores and increase enzyme activity), and some coconut pulp from the milk that I made (you can use homemade coconut milk or coconut manna). Later I throw in some grape seed oil as well.
K's vegetable selection for the evening: yellow cauliflower, rainbow chard, cucumber, radishes, green onion, and cabbage. We use some cilantro for garnish at the end.
The flavorings: ginger root, lemon, bay leaves... Spice mix #1: coriander seed, fennel seed, black peppercorn, and cloves... Spice mix #2: mustard seed, cumin seed, and dried lemon grass. The pepper mill will also make an appearance.
The weapon selection: mortar and pestle, small pot with lid, cast iron pan, santoku knife, cutting board, wooden spoon, pyrex pie pan, teaspoon, colander, and Deanna's stainless steal pan (because one pan just wasn't enough).
Always wash your veggies before eating them. Even though they are organic, they may still be carrying mold spores. So, get scrubbin'!
You can save the ends of vegetable for broth instead of tossing them. Just put them in a bag in your freezer 'til you have enough.
Use teaspoon too peel ginger root, then mince.
Cut cauliflower into medium florets.
Chop and rinse that chard!
This is what was eating.
While pan is heating, mortar spice mix #1, then throw it in. Stir it around until the seeds begin to pop.
Add sunflower seed oil and ginger. Stir. When ginger becomes fragrant, add cauliflower. Saute a couple minutes.
Mix coconut pulp with water.
Add coconut to cauliflower.
Add bay leaves and stir.
Cover pan. If you don't have a lid, use a plate!
Place millet in pot with 4-5 times the amount of water. Add a pinch of salt and stir. Turn heat to high.
Let millet boil for a couple minutes.
Cover and turn heat to low.
This is home made coconut milk, NOT cow milk, for additional moisture.
Add chard and re-cover.
Dice radishes small.
Rinse mac nuts thoroughly (2-3times) and place in glass pie pan or what have you. Bake at 350 degrees. Check every once in a while.
When chard has cooked down a bit, stir in. Add salt and re-cover. Cook 'til cauliflower is tender but not mushy and liquid has reduced by about half.
Dice cucumber small. and add to radishes.
Slice green onion thin and add to cucumber-radish mix.
Add a squirt of lemon to cucumber-radish mix.
Also add grape seed oil, black pepper, and salt.
Throw what scraps you can't use for broth in the compost.
Slice cabbage thin.
Don't forget to wash it!
When millet has steam holes, turn it off and re-cover.
Mortar spice mix #2 while second pan is heating.
Add spices to hot pan.
When seeds start to pop, add coconut oil and ginger.
When ginger becomes fragrant, add cabbage and stir.
Add vegetable broth and salt.
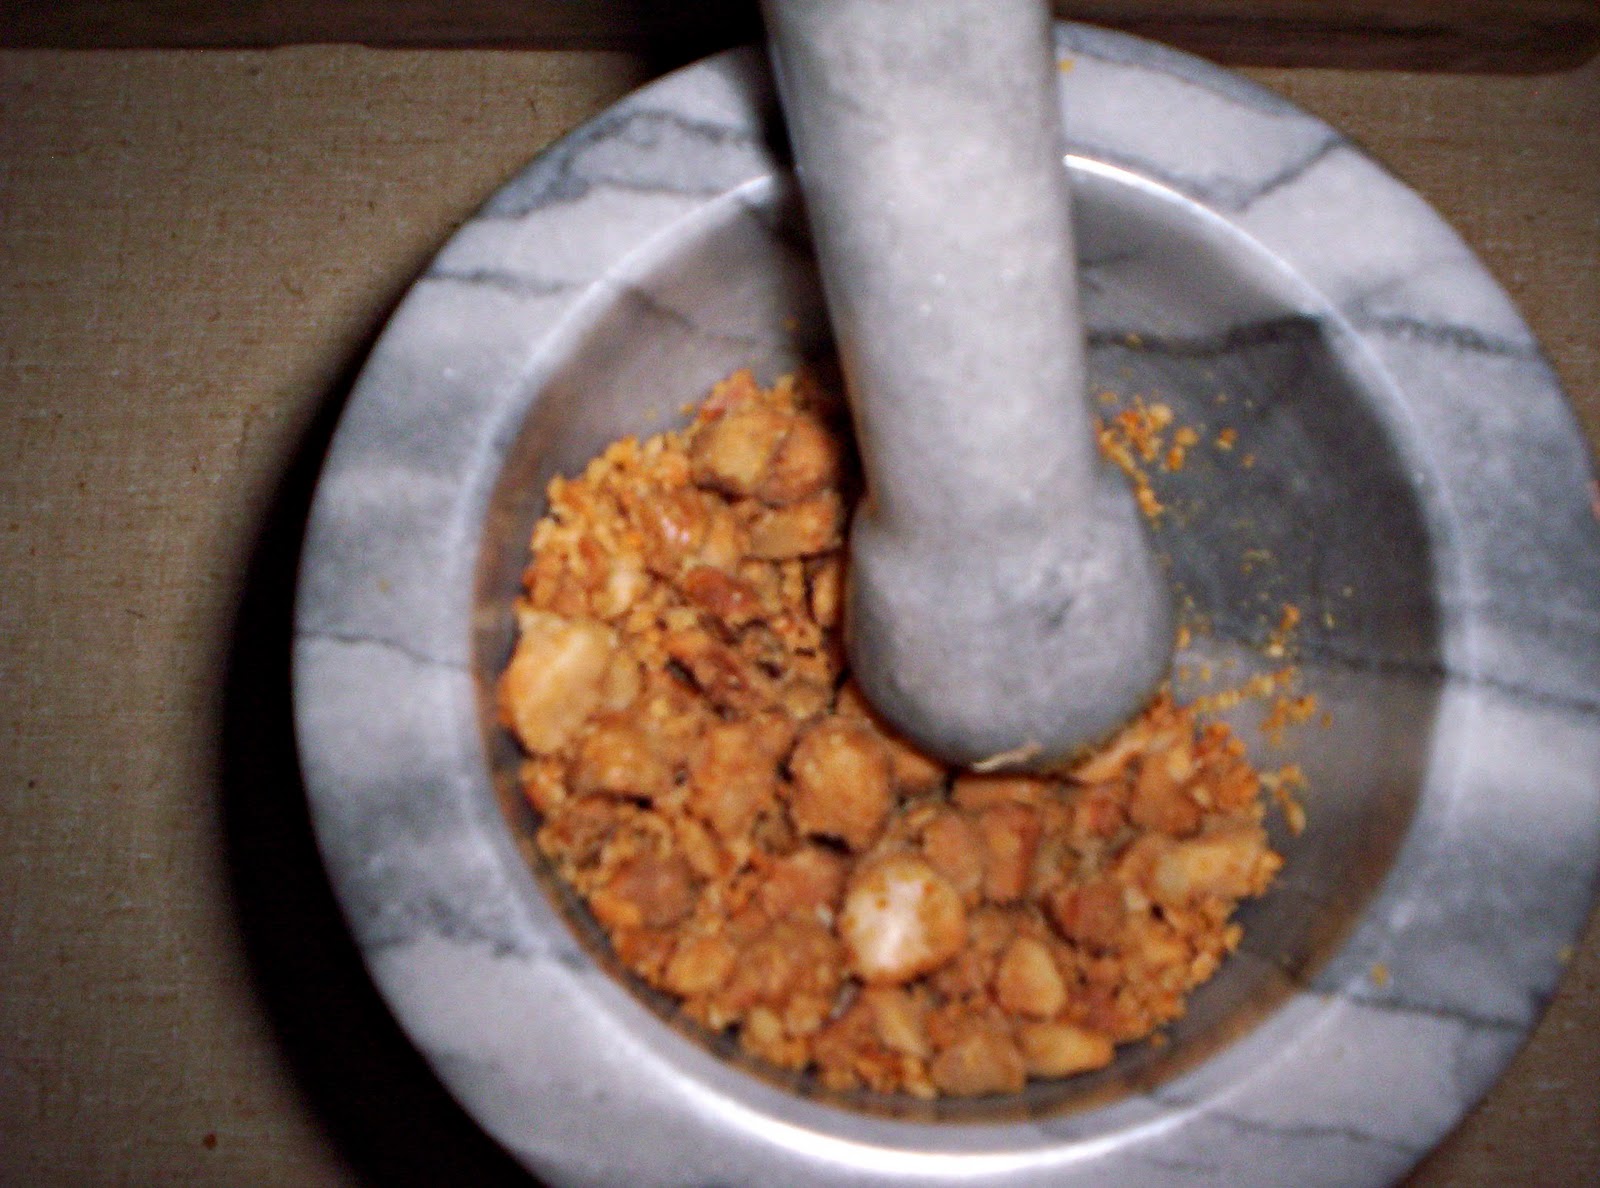
When mac nuts have begun to brown, take them out of the oven.
When cool enough, mortar nuts.
Add nuts to cucumber, radish, green onion mix. Serve cold. Refrigerate until ready.
The millet will have absorbed all water and look dry but delicate when done. At this point, fluff with fork and re-cover until ready to serve.
Roughly chop cilantro for garnish.
I like to lay down the millet first, then pile veggies on top, leaving the chutney, salsa, or salad and garnish for last.
I must admit that this was not the prettiest dish I have ever plated, but it was satisfying. My flavor-combining instincts were right on. It took K quite a while to guess that the secret ingredient was lemon grass!